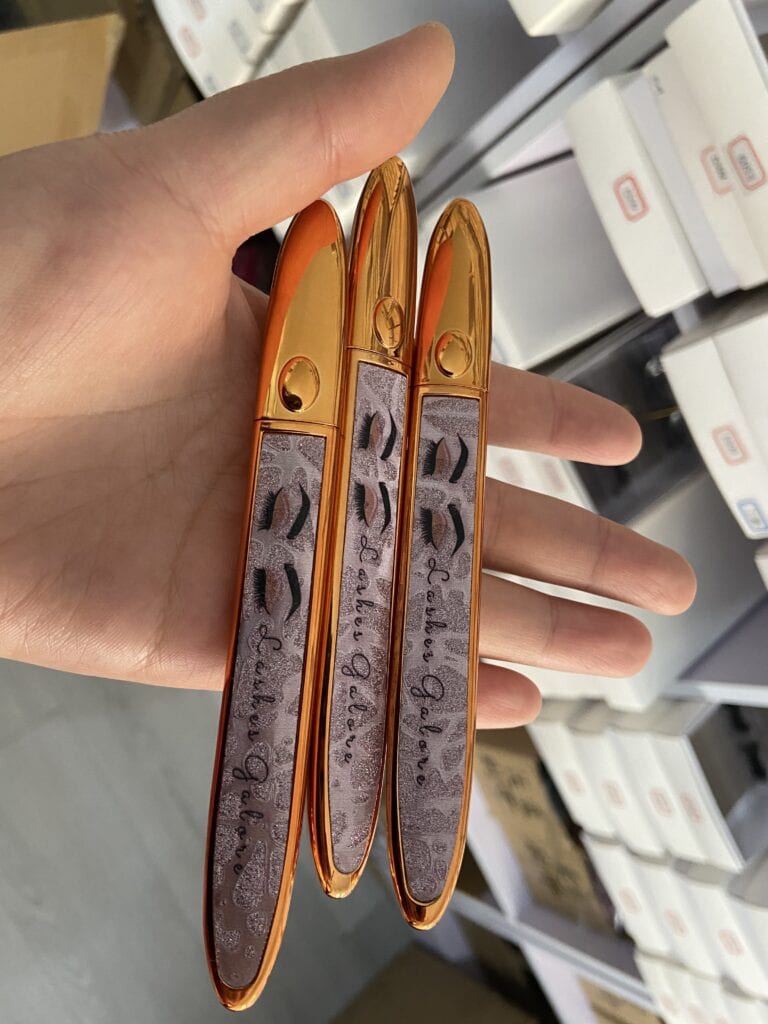
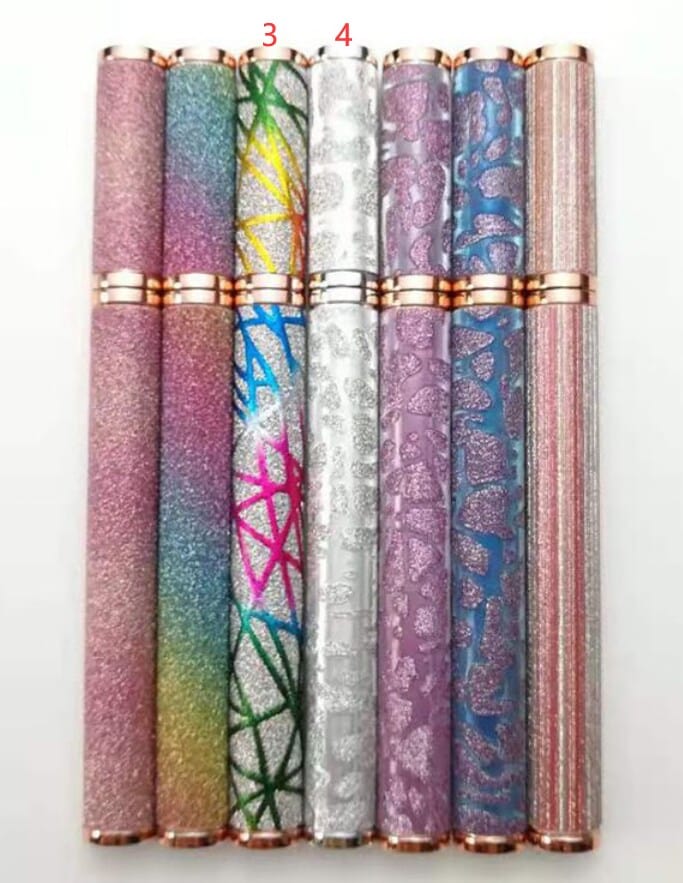
Using glue to apply mink lashes (or any false eyelashes) requires a steady hand and some patience. Here’s a step-by-step guide on how to use mink lash glue:


Materials you’ll need:
- Mink lashes
- Mink lash glue
- Tweezers or lash applicator
- Small mirror
- Eyeliner (optional)
- Scissors (if needed)
Step-by-Step Instructions:
1.Prepare Your Natural Lashes:
- Start with clean, makeup-free eyelids. Curl your natural lashes and apply mascara if desired. Some people prefer to apply eyeliner before applying false lashes to create a seamless look.
2.Trim the Lashes (if needed):
Measure the mink lashes against your natural lash line. If they are too long, trim them from the outer edge. Be careful not to cut too much; it’s better to trim a little at a time until they fit your eye shape.
3.Apply the Glue:
Squeeze a small amount of mink lash glue onto a clean surface or a glue ring if you have one. Use a thin layer of glue along the lash band. Make sure the glue is evenly distributed and doesn’t have any clumps.
4.Wait for the Glue to Get Tacky:
Allow the glue to sit for about 20-30 seconds or until it becomes slightly tacky. This step is crucial, as applying lashes with wet, runny glue can be messy and ineffective.
5.Position the Lashes:
Hold a small mirror below your eye, tilt your chin up, and look down into the mirror. Using tweezers or a lash applicator, gently grasp the mink lashes in the center, close to the base of the lash band.
6.Apply the Lashes:
Carefully place the lash band as close to your natural lash line as possible. Start by attaching the center of the lash band to the center of your natural lash line. Then, press down the inner and outer corners. Ensure the entire lash band is securely adhered to your natural lashes.
7.Press and Secure:
After applying the lashes, use the back of the tweezers or your fingertips to gently press the false lashes against your natural lashes. This helps ensure they are firmly attached and blend seamlessly.
8.Final Adjustments (if needed):
If necessary, adjust the lashes for proper placement. You can also use your fingers to gently push your natural lashes up into the false lashes for a more cohesive look.
9.Optional: Apply Eyeliner (if desired):
To further conceal the lash band and create a polished look, you can apply a thin line of eyeliner over the lash band.
10.Finishing Touches:
Allow the glue to dry completely. It should become transparent when it’s fully dry. Once dry, you can apply mascara to blend your natural lashes with the false lashes, if desired.
Remember that practice makes perfect. Applying false lashes can be a bit challenging at first, but with time and patience, you’ll become more skilled at it.